Skip to content
Phosphoricwiki
Contents

The gallery

Every picture on this page was taken by Phosphoric, run without a window, at a fixed number of cycles: they can be made again to the pixel. None comes from a commercial game.

How these pictures are made

Phosphoric can run with no display (--headless) for a given number of cycles, then write the screen to a file. This wiki’s captures.py script does it for each picture:

oric1-emu --headless --no-config -r roms/basic11b.rom --cycles 4000000 --screenshot atmos.ppm

Since emulation is deterministic, the same command gives the same picture again. The pictures are then enlarged twice, without smoothing.

BASIC
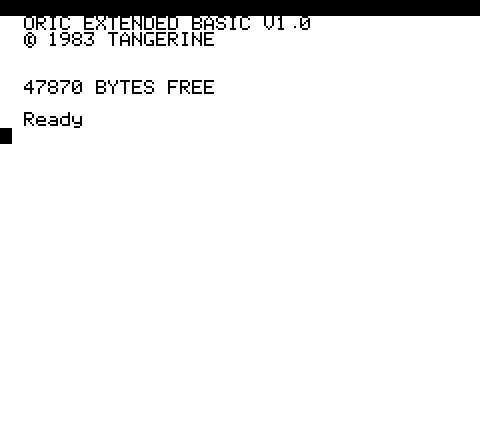
Oric-1 start-up: ORIC EXTENDED BASIC V1.0, 47870 BYTES FREE, Ready
The Oric-1, BASIC 1.0 ROM, after 4 million cycles (4 seconds of machine time).
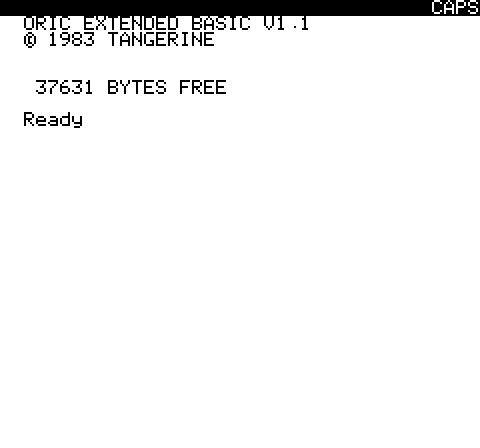
Atmos start-up: ORIC EXTENDED BASIC V1.1, 37631 BYTES FREE, Ready, and the CAPS indicator at the top right
The Atmos, BASIC 1.1 ROM. The “CAPS” on the status line is written by the ROM.

A HIRES drawing typed on the keyboard
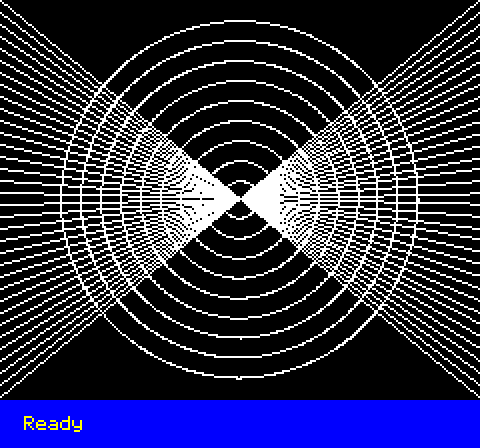
HIRES screen: a fan of white lines crossing in the centre, and nine concentric circles, on black; at the bottom, a blue band with Ready
Three lines of BASIC typed by --type-keys, then RUN: lines (CURSET, DRAW) and circles (CIRCLE). At the bottom, the three text rows of HIRES mode.

The program, as it is typed:

10 PAPER 4:INK 3:HIRES
20 FOR I=0 TO 198 STEP 6:CURSET 0,I,1:DRAW 239,198-2*I,1:NEXT
30 CURSET 120,100,0:FOR R=10 TO 90 STEP 10:CIRCLE R,1:NEXT

Typing goes through the real keyboard matrix: Phosphoric waits for the ROM to scan a key before moving to the next. A pause (\p2, two emulated seconds) lets BASIC store each line.

The raster split: proof by picture

The program of the test-raster-split test (32 bytes of machine code) keeps rewriting screen memory, alternating two background colours: black and cyan. The beam scans the screen while the program writes it.
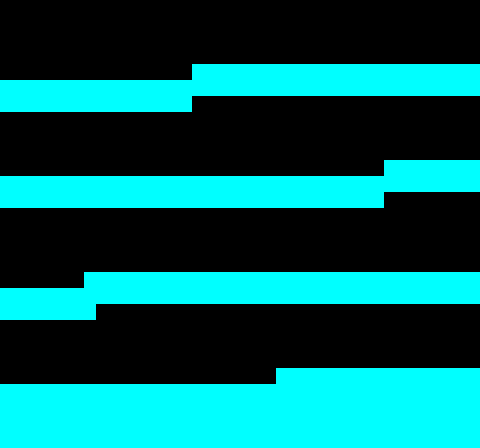
Black and cyan horizontal bands whose boundaries form sharp steps
With --ula-line, the rendering from before version 2.0: each screen line is read in one go, at a single instant. The boundaries are steps.

The same black and cyan bands, but with boundaries that slant across the middle of lines
The default rendering: each cell is read on the cycle when the beam crosses it. Program and beam move together, and the boundary slants: it falls in the middle of lines.

The test checks that some lines differ between the two renderings over only part of their width. Line-by-line rendering cannot produce that. See The picture and the ULA.

The ULA-NG

The demos from the demos/ula-ng/ folder of the repository. Each one unlocks the ULA-NG itself (the 'N', 'G' sequence at $0340) then programs its registers. See The ULA-NG.
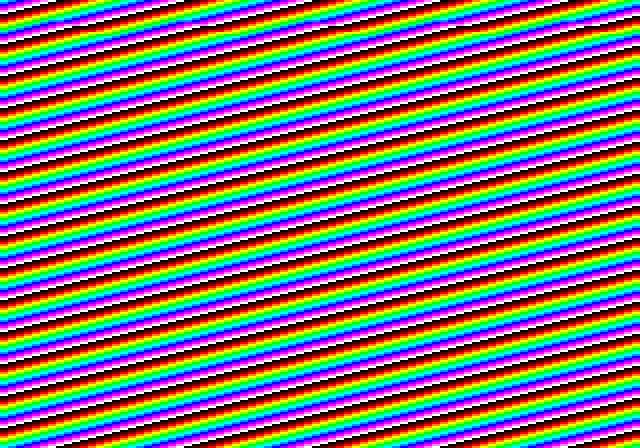
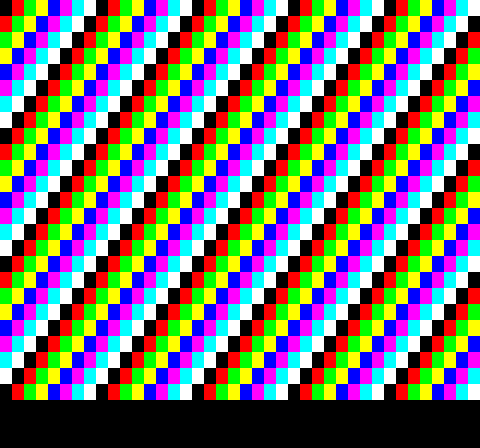
Diagonals in sixteen colours over the whole screen, at 320 × 224 pixels
4-bit chunky: 320 × 224 pixels, 16 colours, palette animated in waves (machine code).
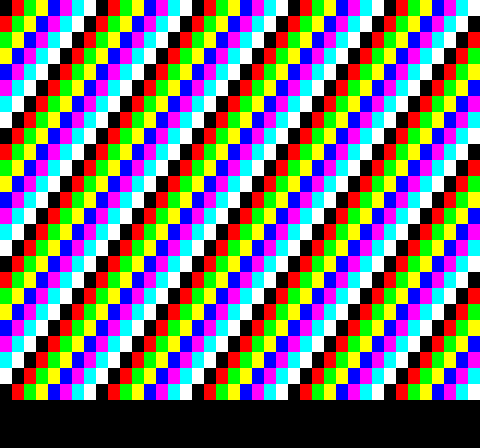
Mosaic of cells in different colours, in a diagonal gradient
Parallel attributes: a different background colour in each cell, impossible with the original ULA.
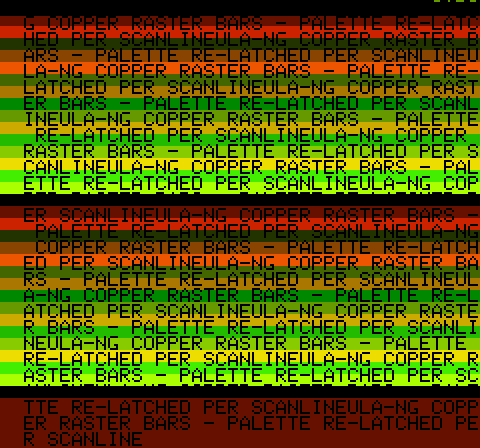
Repeated text over coloured horizontal bars, red, orange, green, in a gradient
Copper: the palette changes on every line, hence the rainbow bars (BASIC).
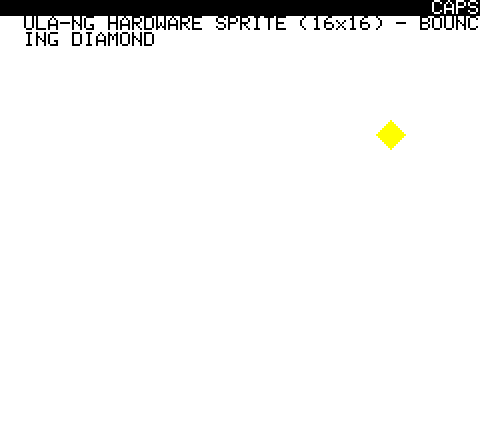
White screen with a title at the top and a small yellow diamond
Hardware sprite: a 16 × 16 pixel diamond, composed by the ULA-NG over the screen (BASIC).
Mosaic of colours per cell, like the attributes demo
Built-in VDU: the same mosaic, but drawn by a command stream written to NG_VDU ($0357). The 6502 carries no driver.
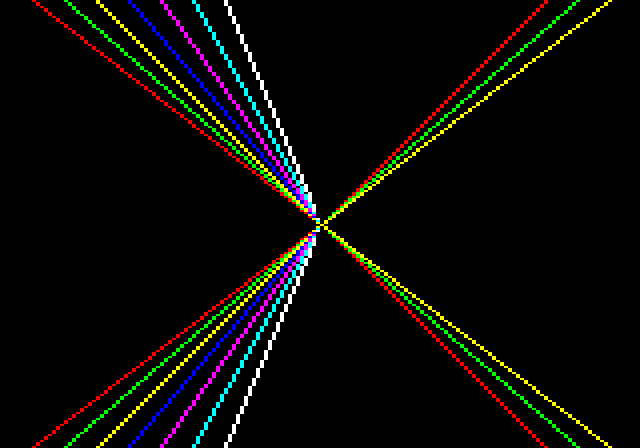
Coloured rays leaving a point, like a sun, on black
Graphics VDU: a sunburst of lines drawn by the CLG and DRAW commands, in the picture memory the ULA-NG carries.
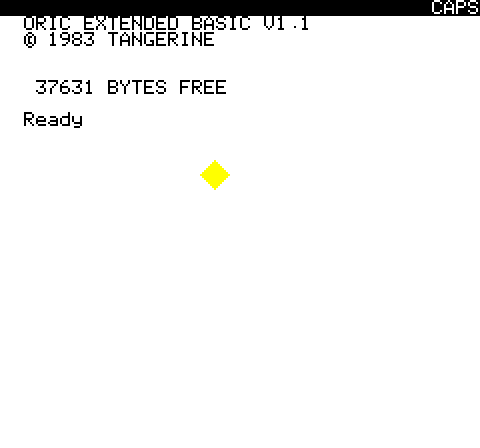
Atmos start-up screen with a yellow diamond on top
VDU and sprite: a diamond defined by a 256-byte stream (VDU 23), then placed (VDU 24).
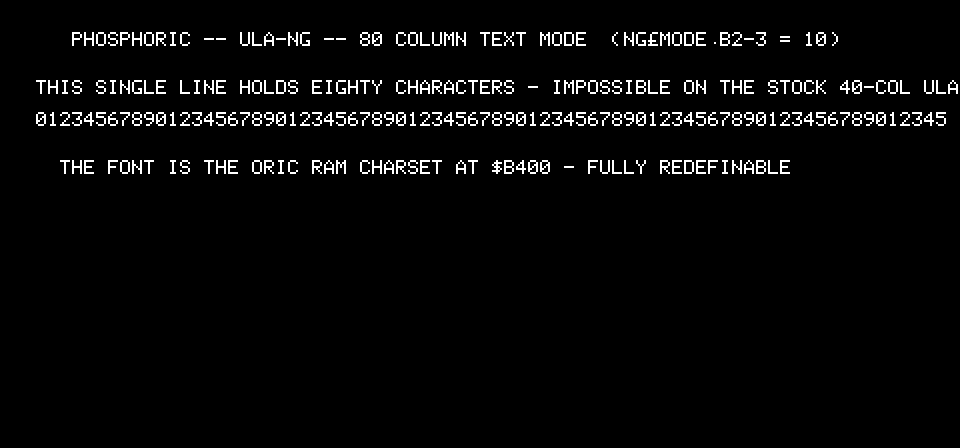
White text on black in 80 columns: PHOSPHORIC -- ULA-NG -- 80 COLUMN TEXT MODE, and a line of digits 0 to 9 repeated
80-column text: 480 pixels wide, with the RAM character set at $B400 (BASIC).

The F1 menu

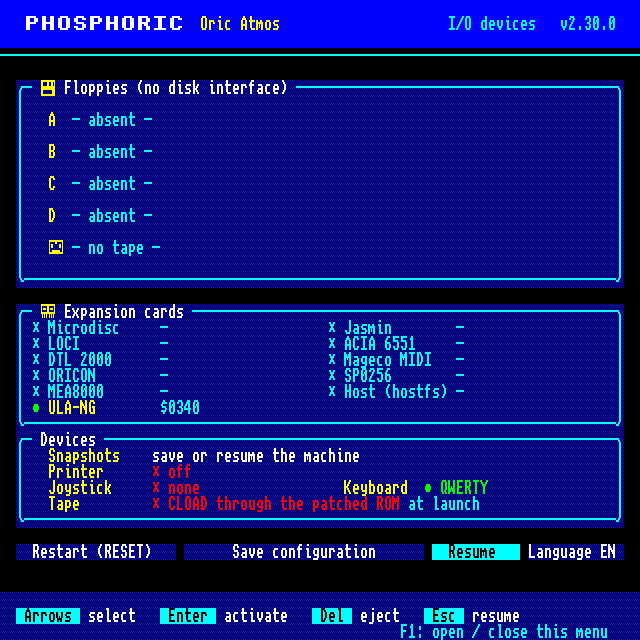
Phosphoric v2.30.0 I/O devices menu on a blue background: floppies A to D absent, no tape, list of expansion cards, snapshots, printer, joystick, QWERTY keyboard, and four buttons
The peripherals menu, rendered by --menu-screenshot. Here with no disk card: the drives are “absent”; only the ULA-NG is present, as always.

The menu can be switched to French too: see How to use it.

Sources in the repository : README.md, demos/ula-ng/README.md, tests/integration/test_raster_split.sh, docs/user-guide/MENU-F1.md.